
Late updated: 23 Aug 2025 14:08
Written by: Elena Prescott
Mastering Traditional Lock Re-Keying Techniques: A Comprehensive Guide
The mastery of traditional lock re-keying techniques offers both practicality and a sense of security. Re-keying a lock essentially involves altering the internal components, allowing a new key to operate the lock while rendering previous keys obsolete. This skill is especially useful for homeowners looking to enhance their security or for those who have recently moved into a new property. It's about empowerment and taking control of your environment without the need for a locksmith.
Understanding the basics of re-keying can open up a world of possibilities in both residential and commercial settings. This process not only saves money but also instils confidence in handling everyday security concerns. Through solidifying our grasp on the fundamentals, we can ensure that our personal spaces remain safe and secure.
As we explore the critical steps involved in mastering this valuable skill, a focus on practical instruction will guide us through the intricacies of lock mechanisms. Whether you’re a budding locksmith or simply someone interested in learning a new skill, this guide will serve as a valuable resource.
Key Takeaways
- Re-keying transforms a lock to fit a new key.
- Mastering this skill boosts security and autonomy.
- Understanding lock mechanisms is crucial for success.
Foundations of Traditional Lock Re-Keying
Traditional lock re-keying is a craft that demands precision and a solid grasp of key components and techniques. By exploring the importance, components, and common lock types, we can appreciate what's involved in mastering this essential skill.
Understanding Re-Keying and Its Importance
Re-keying is the process of altering a lock so a new key can operate it. This technique is essential not only for security but also for convenience. It's a popular choice when keys are lost or stolen, or when new tenants move into a property. Unlike replacing locks, re-keying reuses existing hardware, making it cost-effective. Experienced locksmiths usually recommend re-keying where feasible, as it provides flexibility. It allows the conversion of multiple locks to a single-key system, enhancing ease of use without compromising security.
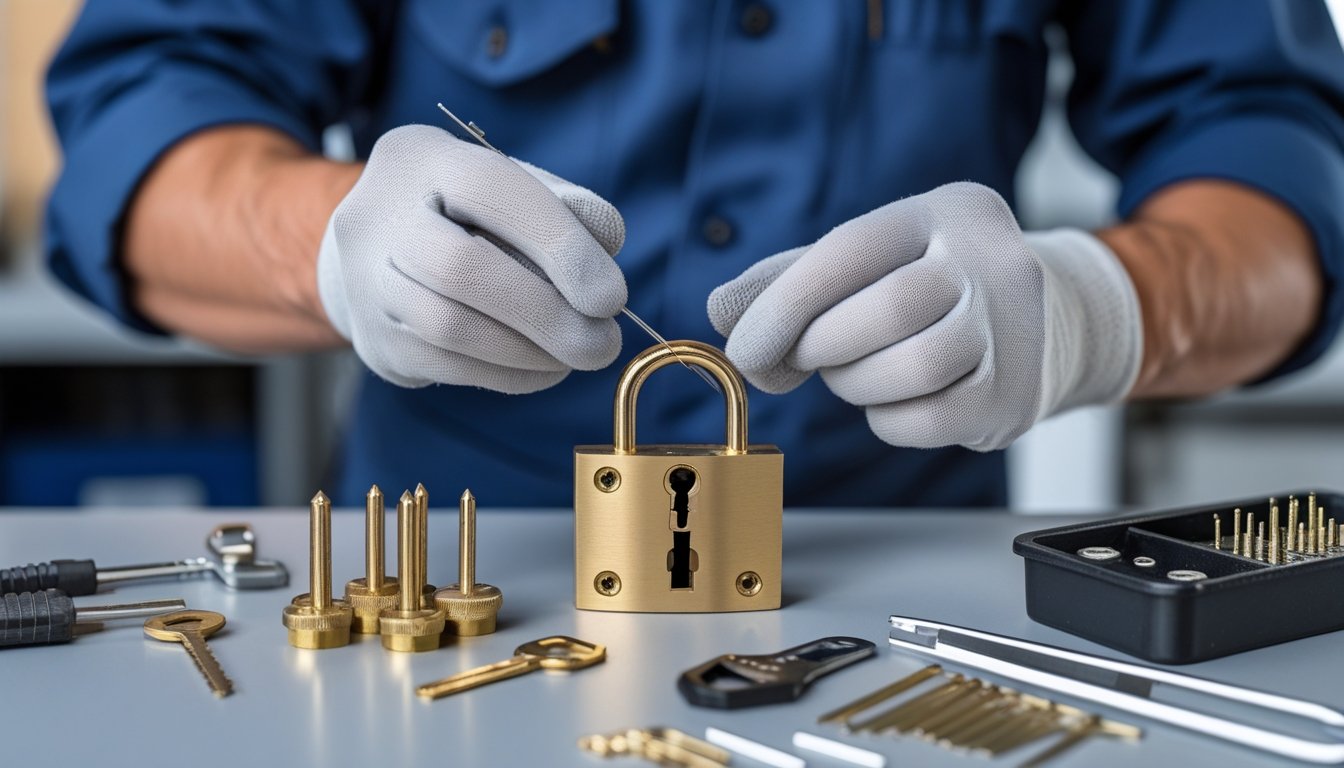
Key Components: Lock Cylinder, Pins, and Tools
Inside a lock cylinder, small pins of varying lengths match the cuts on a key. These pins must align at the shear line to allow the lock to turn. A re-keying kit typically includes top and bottom pins along with springs, key gauges, and plug followers. Successful re-keying involves disassembling the lock, removing old pins and inserting new ones that match the new key. Understanding the configuration and function of these components is paramount for precision. A wide array of tools in our kit facilitates smoothing the process and ensures accuracy.
Common Lock Types for Re-Keying
Various lock types can be re-keyed, each with specific traits. Pin and tumbler locks are the most common in residential and commercial settings due to their versatility. These locks feature a series of pins within a cylinder that need to align with the key cuts. We can also re-key wafer tumbler locks, often found in cabinets and vehicles. Mortise locks, typically used in older buildings, can be re-keyed but require special attention due to their complex structure. Our proficiency in working with these types ensures we can handle a broad range of scenarios in re-keying.
Step-by-Step Techniques for Mastering Re-Keying
Mastering traditional lock re-keying involves a systematic approach where attention to detail is crucial. We will discuss the processes of disassembling locks, replacing specific components, and ensuring the successful operation of re-keyed locks.
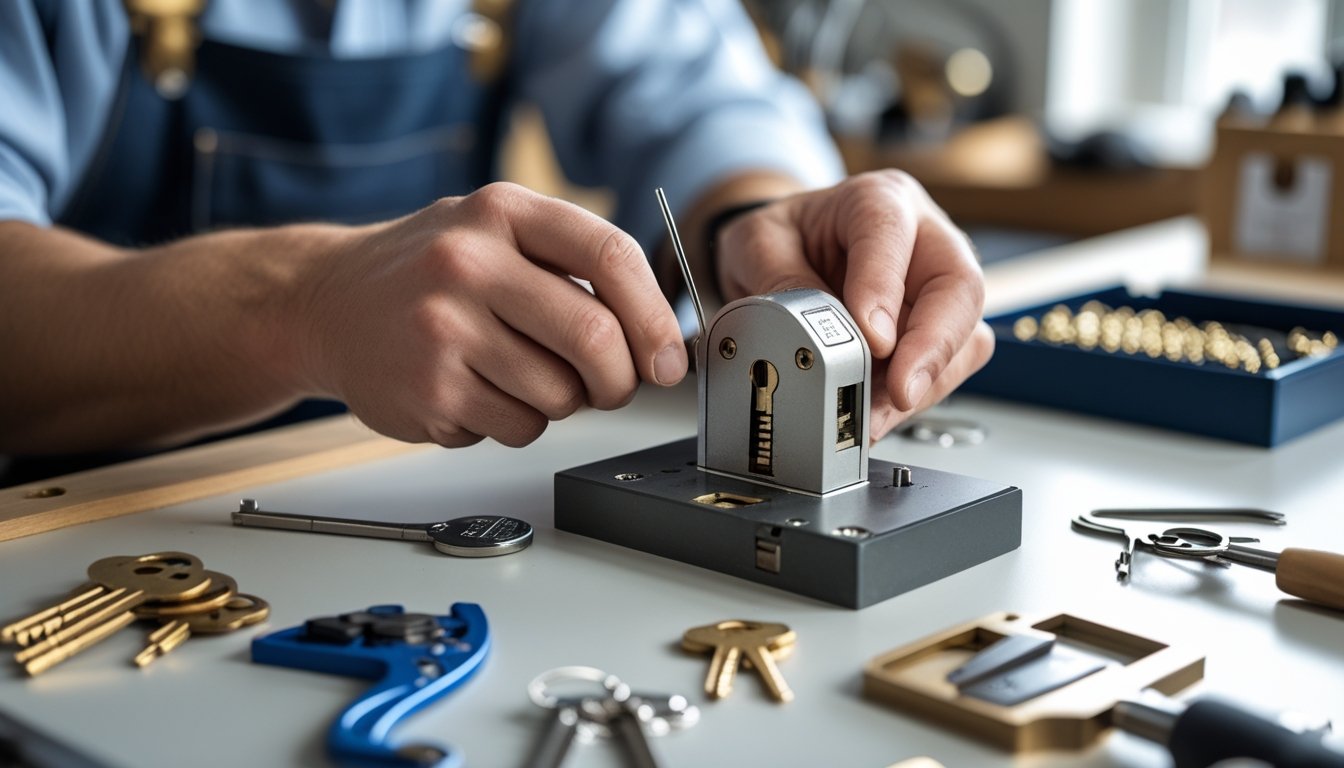
Disassembling and Inspecting the Lock
The first step in re-keying requires disassembly and inspection. We begin by removing the lock from the door, using a screwdriver to detach the lock cylinder. Ensuring all screws are stored safely will prevent loss or damage.
Once the lock is disassembled, examine the internal components such as springs, pins, and the lock cylinder for any wear or damage. A careful inspection helps to determine if any parts need replacing during re-keying. Ensure that the re-keying kit is readily available with the correct tools and replacement parts for your specific lock model.
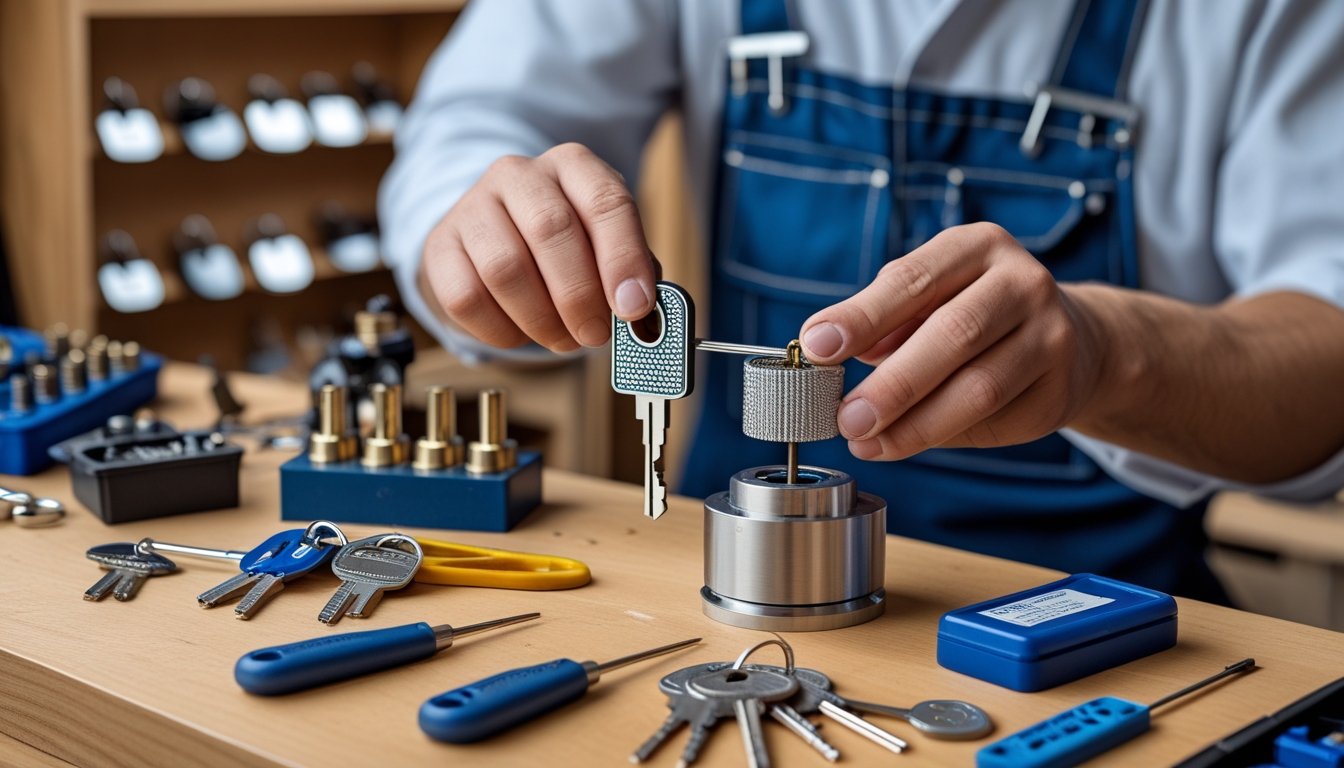
Replacing Pins and Tumblers
After disassembly, the replacement of pins and tumblers becomes our focus. Pins of various lengths correspond to new keys, so we match each pin with its respective placement, ensuring alignment with the new key cuts. This process requires precision and accuracy to maintain the lock’s functionality.
Using the re-keying kit, we remove the old pins and install the new ones, making sure the new key turns smoothly. Attention to pin height is critical, as inconsistent sizes can lead to malfunctioning locks. This procedure does not require much time but demands care and patience to achieve the desired result.
Testing and Troubleshooting Re-Keyed Locks
Upon reassembly, it is crucial to test the re-keyed lock to ensure it functions correctly. Insert the new key into the lock and check that it operates without any resistance. If issues arise, re-examine the lock for improperly seated pins or obstructed springs.
We might need to repeat the inspection and adjustment if the lock does not turn smoothly. Troubleshooting involves patience, especially if pins require readjustment. Ultimately, the lock should operate seamlessly, providing security and reliability. By following these steps attentively, we can guarantee a successful re-keying experience.
Frequently Asked Questions
Re-keying locks can seem complex, but breaking down the process into manageable steps makes it more approachable. We address common questions about rekeying different types of locks, tools needed, and where to find professional help. Our intention is to demystify the process through detailed explanations and practical guidance.
What is the procedure for rekeying a cylinder lock?
Rekeying a cylinder lock involves removing the lock cylinder and replacing the pins inside. This adjusts the internal mechanism so that the lock can be operated with a new key. The process usually includes disassembling the lock to access the cylinder, replacing the old pins with new ones that match the new key, and then reassembling the lock.
Can you detail the steps involved in rekeying a Kwikset door lock?
Rekeying a Kwikset lock typically requires a rekeying kit designed for Kwikset locks. Start by removing the lock from the door, then disassemble it to access the plug. Inside the plug, replace the existing pins with those that come with the rekeying kit, matching them to the new key. Reassemble the lock and verify that the new key operates smoothly.
What is required to rekey a Schlage lock myself?
Rekeying a Schlage lock requires a rekeying kit specific to Schlage. Begin by removing the deadbolt or doorknob from the door. Disassemble it to reach the cylinder plug. Replace the existing pins with the new ones that come in the kit. Ensure that they match your new key, then reassemble the lock and test it for smooth operation.
How do I rekey a deadbolt lock without professional assistance?
To rekey a deadbolt lock, first ensure you have a rekeying kit compatible with your lock brand. Remove the deadbolt from the door and disassemble it to access the cylinder plug. Change the pins in the plug to match a new key, then reassemble and reinstall the lock. Confirm the new key works smoothly before completing the process.
What components are included in a standard rekey kit?
A standard rekey kit typically includes a set of new pins, keys, a plug follower to help in assembling the lock, and sometimes a specialised tool for removing the cylinder. These kits are usually brand-specific, offering pins sized to match new keys for that particular lock type. Ensure to match the kit with your lock brand for compatibility.
Where can I find services to rekey locks in my vicinity?
To find lock rekeying services near you, please consider contacting local locksmiths or home improvement stores. They commonly offer these services and can provide professional assistance. Online directories and local business listings are also helpful resources for locating nearby locksmiths who specialise in rekeying locks, ensuring convenience and expertise.